Managing Vendor Bills in Odoo
A bill is issued when you purchase raw goods / materials from a vendor for the manufacturing of your company’s products. This article helps you how to manage bills and payments for your company directly on Odoo.
Bill Creation
Manual
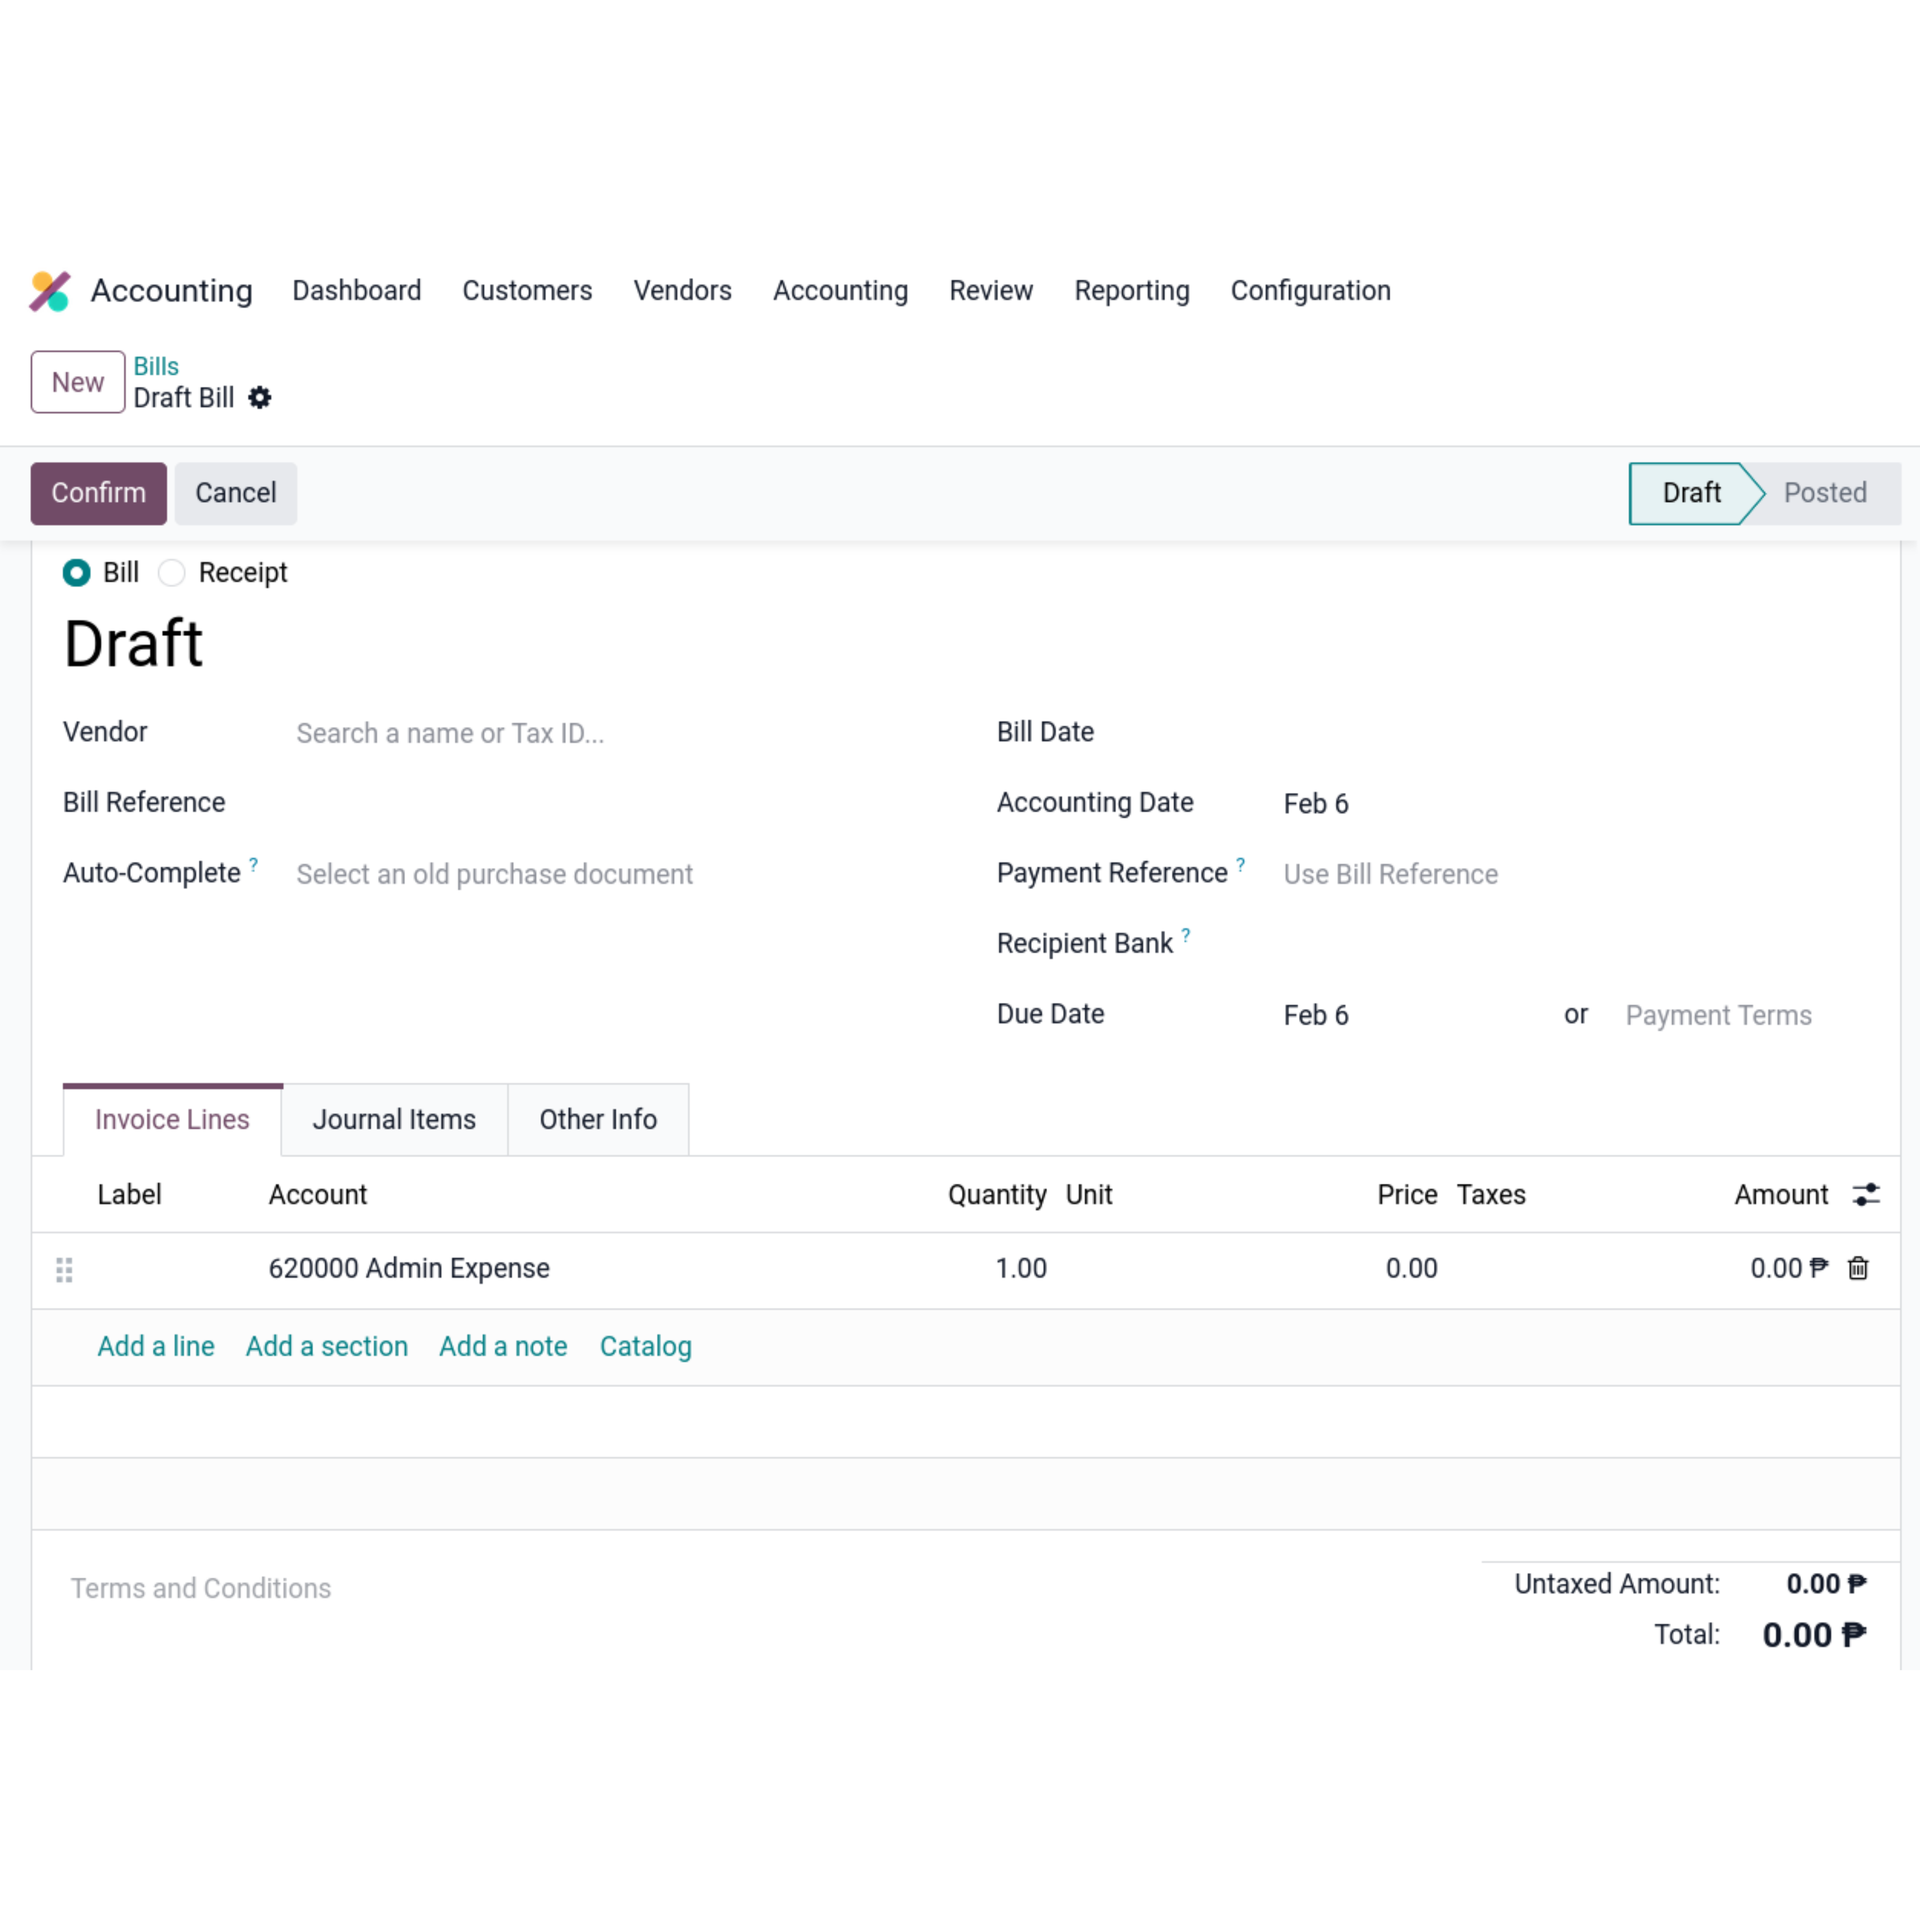
Bills are first created as drafts and can be done by navigating to the Accounting app, selecting Vendors, and then Bills. A bill must contain the following information: Automatic
Bills can be automatically created by uploading its PDF equivalent and Odoo will autocomplete some of the required information for you.
Draft Checklist : Manual Requirements
Vendor : Depending on your fiscal localization, Odoo has pre-saved contact records for large companies within your country. If your vendor is not listed, you can create one by navigating to the Accounting app, selecting Vendors, and then again Vendors.
Bill Reference : To match the sales order of raw goods / materials, its reference number must be associated with the bill.
Bill Date : When the bill was issued.
Accounting Date : When the bill was issued.
Payment Reference : When the bill is paid, its reference number is associated with the bill.
Recipient Bank : The bank account number to which the payment will be made.
Due Date : When the bill should be paid. You can alternatively set payment terms of 15 or 21 days depending on the circumstances and how much is asked.
Invoice Lines : The products your company has availed to the vendor. For each line added, it contains the following:
Product
Quantity
Price
Taxes (if applicable)
Journal Items : Accounting entries created in relation to the Invoice Lines.
Optional information can be set under Other Info where you can add or modify the Incoterm, Fiscal Position, Payment Method, and more.
When creating a bill, it defaults to a draft and can only be confirmed if you enter the required information such as the vendor, bill reference, recipient bank, and availed products or services.
Bill Confirmation
When the required information is complete on the bill, you can proceed to confirm it. The invoice’s status then changes to Posted and a journal entry is created. A unique bill sequence is assigned additionally by Odoo for differentiation and can be changed while in draft.
Note : You cannot update a bill once confirmed. If you made a mistake on the bill, you can reset it back to draft and make changes as needed.
Payment and reconciliation
You can pay the bill directly either as manual payment, checks, or other methods and validate it by navigating to Vendors and then selecting Payments. You should specify the amount to be paid, the journal to log the transaction, and the Memo which is automatically filled if the Payment Reference has been set.
Validation
Checks
Manual Payments
Reporting
Vendor transactions are reported on the Balance Sheet, Profit and Loss, and General Ledger which can be found by selecting Reporting on the Accounting app. For outstanding vendor bills, you can view them on the Aged Payable report.
Profit & Loss
Track expenses and Profitability
Balance Sheet
Review your liabilities and assets in real-time
General Ledger
Comprehensive view of all financial transactions.
Age Payable
Analyze upcoming bills and payment timings.
Wrapping up
You are now all set to manage bills by creating and paying them to your vendors. Start by creating or uploading your first vendor bill and link the products your company has purchased and pay them.